The buying criteria was pretty basic. We wanted at least 4 metres of internal length to the van with both rear doors and a sliding side door. Our first van just had rear barn doors and it just doesn't lend itself to an efficient or adaptable furniture layout. In an ideal world I wanted a Mercedes Sprinter.... but we ended up with a Ford Transit, balancing out cost vs condition vs miles covered etc etc.
 So there we are with our new, MASSIVE, Transit sat out front.... And it was straight off to work. The existing ply lining, flooring and complimentary cobwebs were removed and the whole van cleaned ready for the tri-foil insulation to be cut and stuck in to place. We got some paint on style high temperature adhesive, as when the van sits in the sun the metal bodywork can get hot and normal adhesives give way. It turned out we needed two 5 litres tins of this!
This is an apt time to get all of the cables runs you require sorted out. I had already decided on the layout and had intended on the Leisure batteries and general 'Heart' of the electrical system to be located in a bench type seat on the front right of the van, directly infront of you as you open the sliding door. I then sent black cable ducting from this point to all 4 'quadrants' of the van, either running over the ceiling or as you can see under the floor.
 |
| Celotex going in with cable ducting |
 |
| 2 x 1 going down |
 I used 25mm Celotex all over the van. This fit just nicely between the ceiling ribs and sat flush with them ready for ply lining. On the walls I was able to double the board up in most places, giving that little bit extra thermal protection. We are building this for the Alps! We'd read that raising the floor was a big necessity, even though heat rises, the wicking action of cold winds rushing under the van would also suck our heat away. This was achieved by sticking 2 x 1 inch batons to the lower most ridges of the van and lying cut Celotex in between them to give a fully insulated floor.
Keeping refreshed during all of this work was essential, as can be seen to the left. Once refreshed it was on to lining the van in ply wood. The floor being a load bearing area was clad in 25mm marine grade ply. This was screwed and glued in to the batons we'd stuck down earlier. After chopping a big hole for the skylight the ceiling had a layer of lighter 6mm ply wood affixed to it using self tapping screws in to the metal ribs of the van.
Sticking the stretchy van lining carpet on to the ceiling was fairly straight forward affair with two of us. Cutting the section oversized we were able to spray the adhesive on in a big strip straight down the length of the van and work from the middle out.

 The floor I chose was a laminate style tile in a zebra stripe wood effect.... Which looks pretty darn smart even if I do say so myself! It was easy to lay, again working from the centre of the van out, sticking it on to the ply with pressure sensitive adhesive.
9mm ply was affixed to the walls much like the ceiling, using self tapping metal screws in to the various ribs. On some of the joins I had to insert a piece of baton behind so that each of the edges could be screwed to it and sit flush with each other.
Next and on to some funky furniture building! We wanted to make the best use of our van, and I spotted a wicked website with some cool van layouts. Ideally we want to be able to accommodate guests when we are travelling, and have a semi fixed bed (ie one we can leave out and not have to put away every day if we don't want to). So we opted for a large bed at the rear of the van that, if needed, could be put away to form 2 x bench seats. I found a nifty design idea for a bench seat that slides out to make a semi-double sized bed. The number of slats on the pull out section was doubled from the pictures shown below. When extended the front drivers seat can be bent forward and 2 people can just about fit on the bed, making this van habitable for 4!


Construction of all of the furniture was done with 2 x 2 inch timber. I tried to pick the straightest pieces from the builder merchants by holding the piece by one end and 'eyeing' it down each edge. Straight wood makes for easier building!
Measure twice and cut once was the order of the day, joining each piece by drilling a pilot hole smaller than the diameter of the screws I was using, and adding a blob of glue on the surfaces before screwing two screws in to each piece.
The rear bench seats/bed was built using the same process, measuring and building around the wheel arches. All of the units were screwed in to the metal struts of the van using long self tapping screws and in to the floor using wood screws.

 These were later clad on all sides using 9mm plywood, making enclosed units. Simple, slot in 'lids' were built in 9mm plywood and were easier to build and use than fixed lids on hinges. Keep it simple stupid.
Kerry's Aunt works at a foam and upholstery distributor and did an absolutely brilliant job of wrapping the campervan grade foam we had cut to bespoke sizes. This was one expense we didn't realise would be so much. A 50% discount on the foam was much appreciated, but the red material we wanted still set us back a few hundred pounds!
The kitchen was built in exactly the same way as the bed units and clad in 9mm plywood. We were gifted some very nice looking white kitchen doors and installed them on proper kitchen door hinges. They are kept shut in transit with the use of simple magnetic or push fit door stays. The kitchen work surface was also kindly donated and after a precarious few hours with a jigsaw had a hole the perfect shape for the sink/hob combo to slot in. This was simply screwed to the wooden unit from underneath and makes for a very swanky looking kitchen!
 Under the unit we went with a simple water system comprising of 2 jerry cans, one for the fresh water pump to drop in to and one for the waste to drain in to. A gaslow re-fillable bottle was installed, strapping it safely to the side of the van, and plumbed in using simple 8mm Inside diameter hosing. The fill point for the gas is on the outside of the unit so that we can fill up at a petrol station with LPG fairly easily. We had one of these systems in a previous van and it is amazingly cheap to fill up compared to switching over bottles.
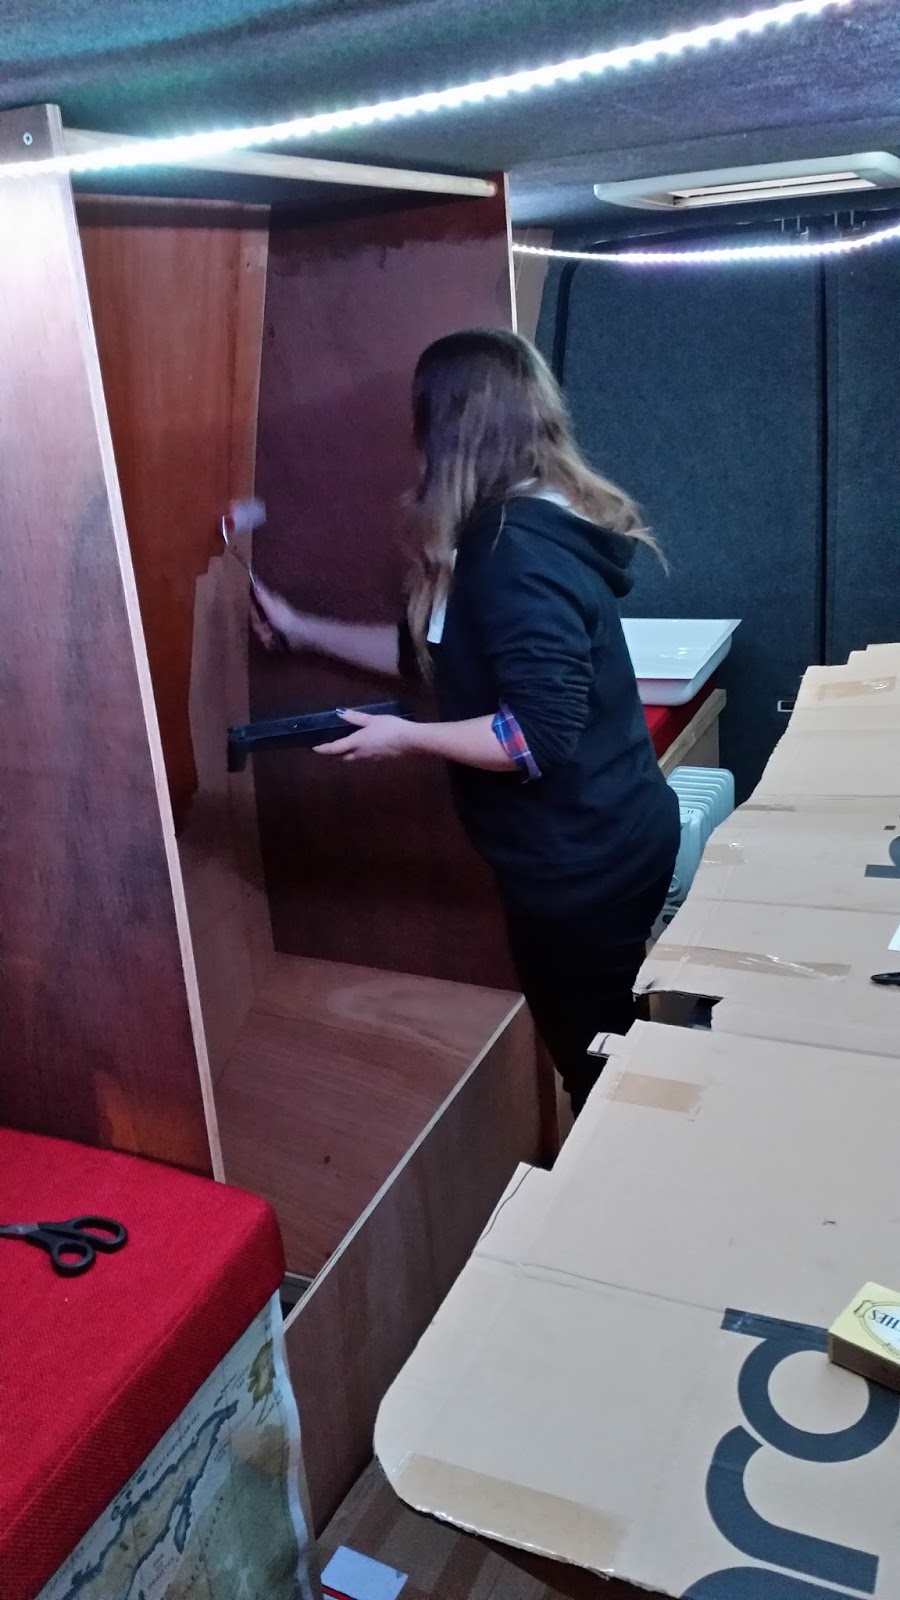
The space between the front and back benches was reserved for a showerdrobe. Part shower, part wardrobe, for hanging wet snowboarding clothes, as well as housing the simple cassette toilet... you know... for those middle of the night moments.
 The ply wood was painstakingly coated in 7 layers of Marine grade yacht varnish to make it water proof. All of the joints were sealed using an antibacterial silicon sealant and the shower tray was stuck firmly in place with the drain hole poking out of the bottom of the van. KISS!
A good friend was able to get us a very good deal on an Eberspacher D2 diesel heater, normally used for heating buses. Again, with a little help from my friends, I installed this under the kitchen unit with one hot air outlet poking out under one of the bed units. It sucks diesel from a jerry can we place under the van, burns it and passes the space air over a heat exchanger to heat it up. Only trouble being it was a 24v model and we were installing a 12v battery system.
After a little googling and electrical calculations I worked out I needed a fairly expensive 12v to 24v transformer capable of the high starting current. While this alone was expensive it was still cheaper than buying a 12v heater. A few trial runs later and the heater was up and running and pumping out some good hot air!
 The electrical system has two 110aH 12v batteries at its core. These are charged by two 100W solar panels on the roof as well as the van's alternator when the engine it running. On our previous vans we had a split charge relay system whereby we had to manually connect and disconnect the van battery and these leisure batteries, but, with the purchase of a voltage sensing relay, this process is now automated. The batteries are connected when the voltage in the system is above 12.8 volts. This means that all of the batteries are charged when the sun is shining :) or the van is running. As soon as the system voltage drops to 12.8 volts the relay cuts the link between the van's starter battery and the leisure batteries, so we only drain the energy in the leisure batteries and are able to start the van at any time.
Overall building the van was an enjoyable experience. Some bits were tedious to do (Like sticking all that silver foil!) Other bits were technically taxing, but the majority of it was fun and interesting.
If you have any questions on building vans, want advise, or even a little helping hand, send me a message to vagabondingadam@gmail.com . It'd also be great to see your own vans! Pictures and comments below!
No comments:
Post a Comment